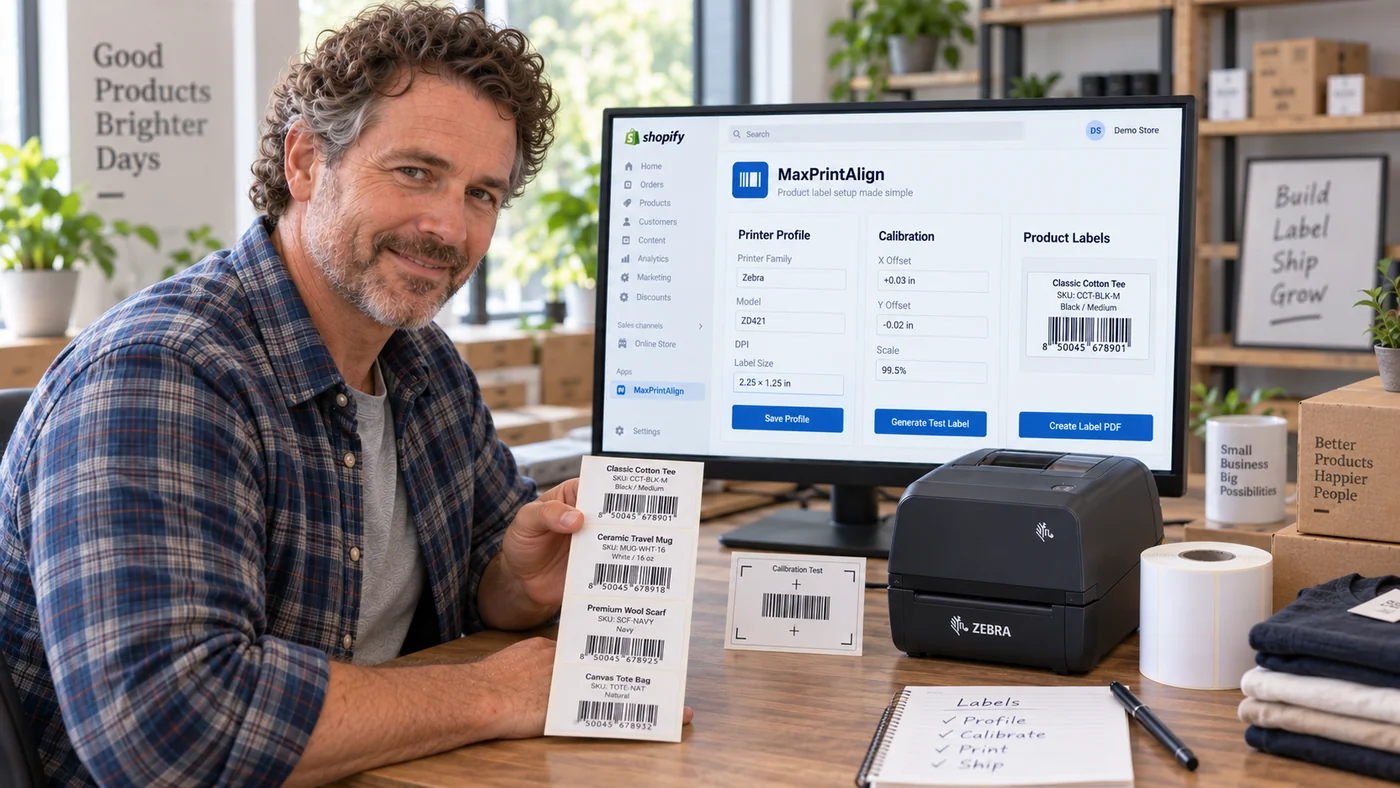
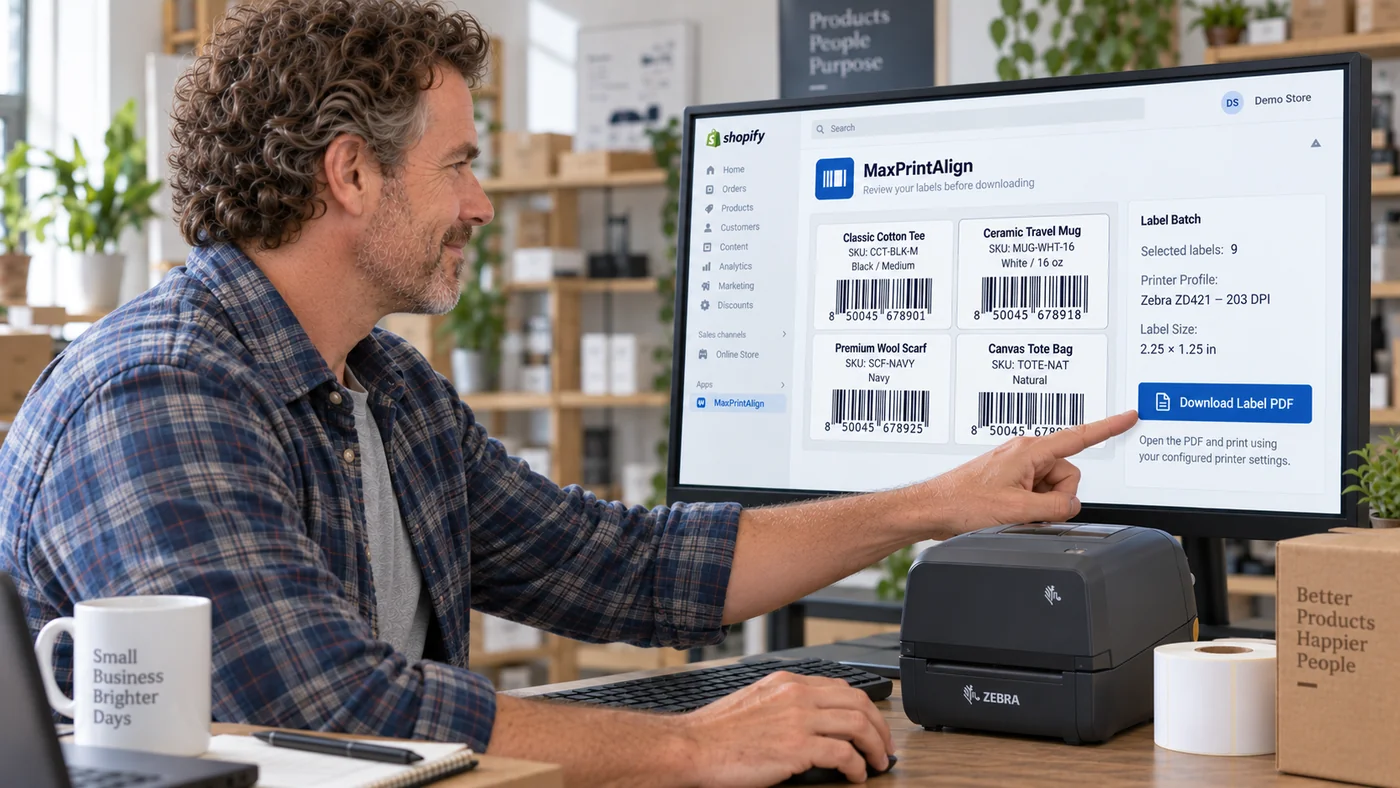
1. Open MaxPrintAlign in Shopify Admin
Open Shopify Admin → Apps → MaxPrintAlign. Pages that display store data require an authenticated Shopify Admin session.
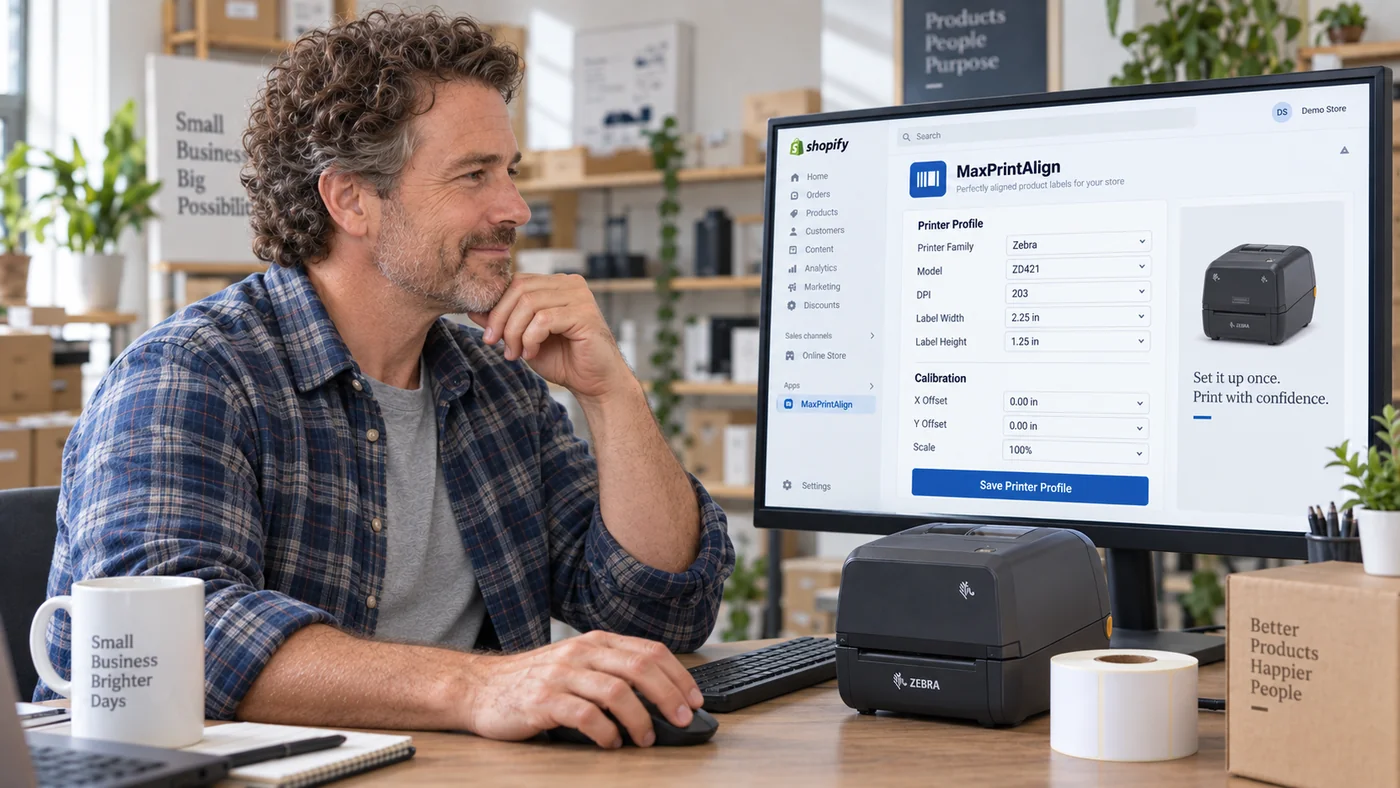
2. Add a printer profile
- Choose Add printer or Add another printer.
- Select the printer brand/model if listed or choose Other / Custom.
- Confirm DPI.
- Select a label-size preset or custom dimensions.
- Save and continue to calibration.
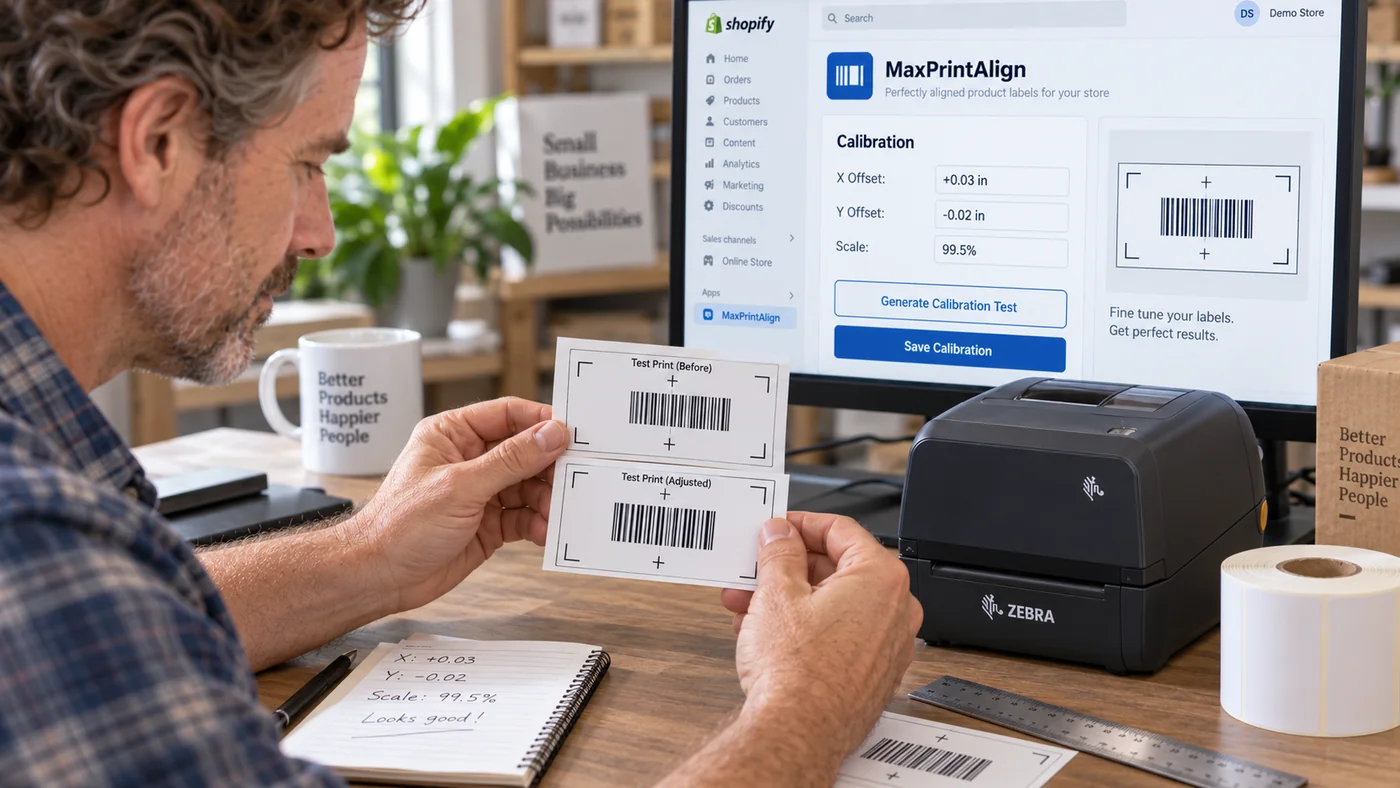
3. Print a calibration sheet
- Open Calibrate.
- Generate the test sheet.
- Print at 100% / Actual size.
- Disable Fit to page or similar scaling.
- Use the same stock planned for product labels.
4. Adjust alignment
Use directional controls to move output horizontally or vertically. Choose a small nudge amount for fine adjustment. If the whole label is proportionally too large or small, use the scale control.
5. Save calibration
When the physical test aligns, save the calibration. The profile becomes available for product-label generation.
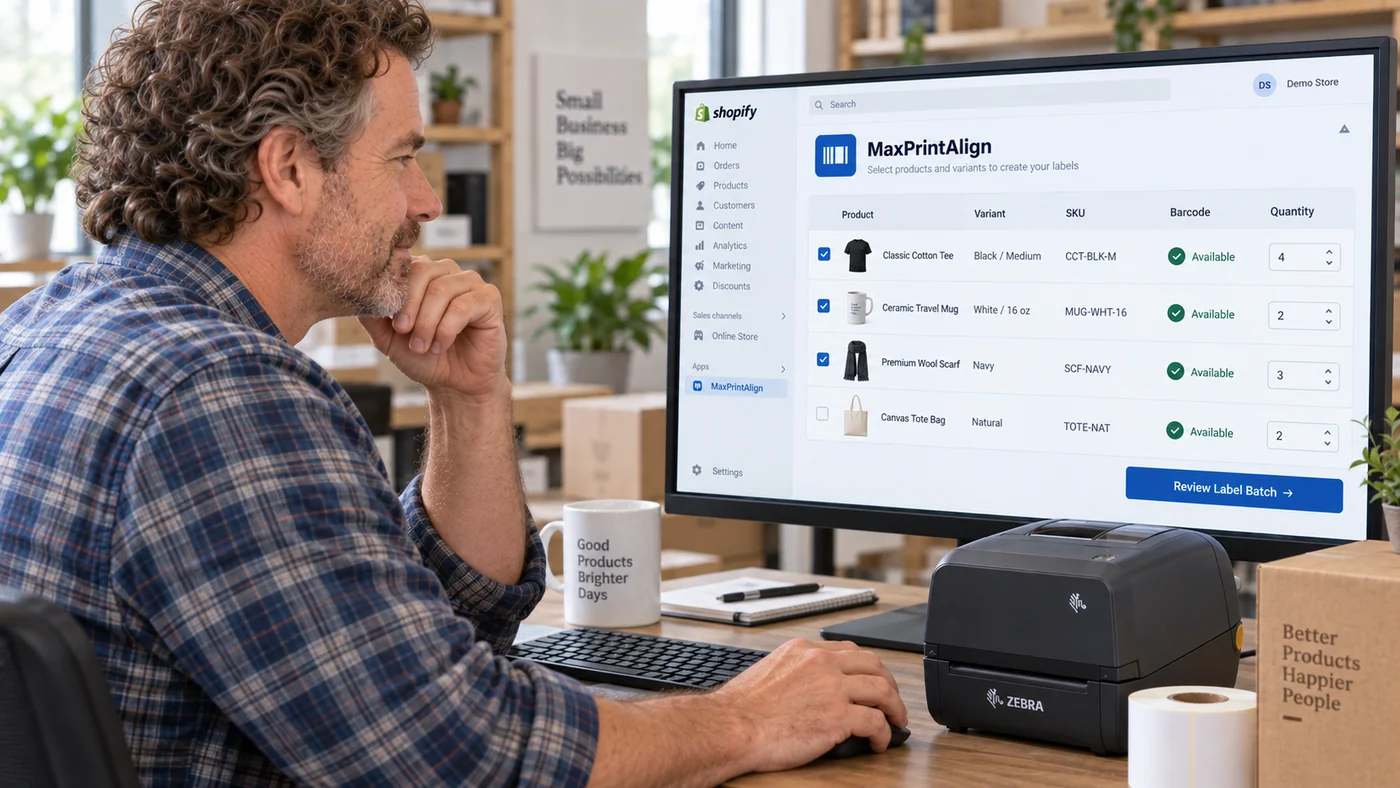
6. Choose products
- Open Create labels.
- Select the calibrated printer.
- Search printable variants.
- Select products.
- Adjust quantities.
Only variants with an existing barcode or SKU are printable.
7. Review labels
Confirm printer, label size, product content, source value, and quantities. Previewing does not consume product-label usage.
8. Generate and download
Choose Generate PDF. Usage is counted after successful product-label PDF generation. Print using the same Actual size discipline used during calibration.
9. Re-download or regenerate
Re-downloading a completed saved job does not count it again. If its temporary PDF expired, use the free regeneration action for that already-counted job.
10. Troubleshooting checklist
- Correct printer profile?
- Correct label dimensions?
- Correct DPI?
- Actual size / 100%?
- Fit to page disabled?
- Correct printer-driver media size and orientation?
- Recalibrated after changing stock or driver settings?
More detail
See Documentation or FAQ.